This guide will walk you through the steps to upload your custom map or saved world to your Necesse server hosted by Citadel Servers, using either the File Manager or FTP.
Looking for a Necesse game server? Click here to order your server!
Step 1: Log in to Your Citadel Servers Game Control Panel
Go to the Citadel Servers Game Control Panel and log in using your credentials.
Step 2: Prepare Your Save File
Locate your custom save file on your computer. Make sure it’s compressed (zipped) into a .zip file before uploading.
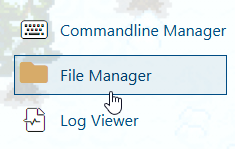
Step 3: Access the File Manager
In your Game Panel, open the File Manager.
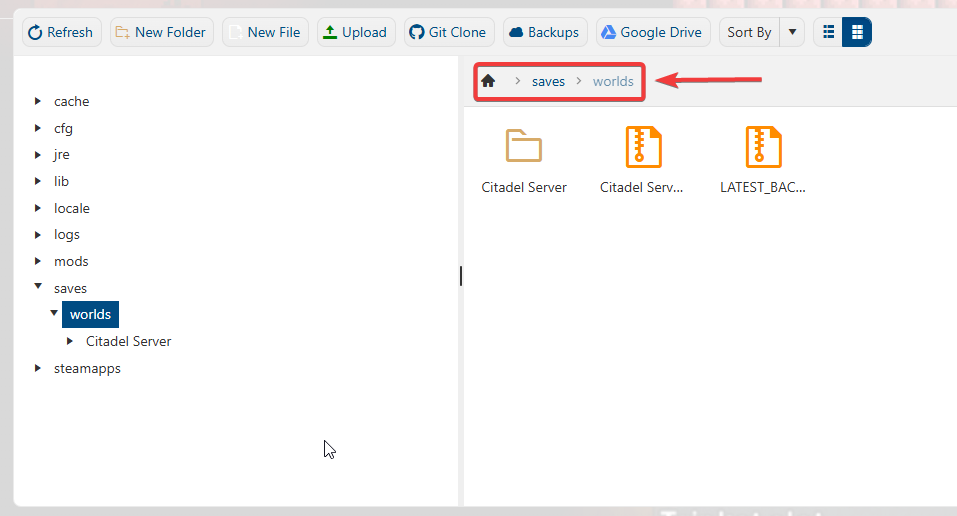
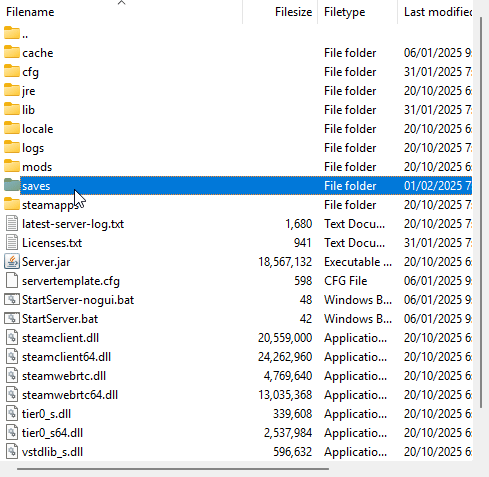
Step 4: Navigate to the Save Folder
Go to the folder where your Necesse save files are stored.
For example:/necesse/saves/worlds
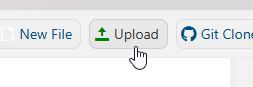
Step 5: Upload Your Save File
Click Upload, then select your zipped save file from your computer to begin the upload process.

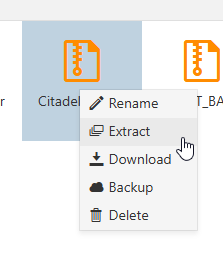
Step 6: Extract the Uploaded ZIP File
Once the upload is complete:
Locate the uploaded ZIP file in the File Manager.
Click on the file, then select Extract to unpack the save files into the same directory.
Step 7: (Alternative) Use FTP for Large Files
If your upload fails or your file size is too large for the File Manager, use FTP instead.
Please refer to our FTP Upload Guide for detailed steps.
(Use this method if your file is too big or errors occur during upload.)
Navigate to the correct destination folder of the saved progress.
/123.456.799.999_14159/saves/worlds
Upload your saved progress files from your save folder.
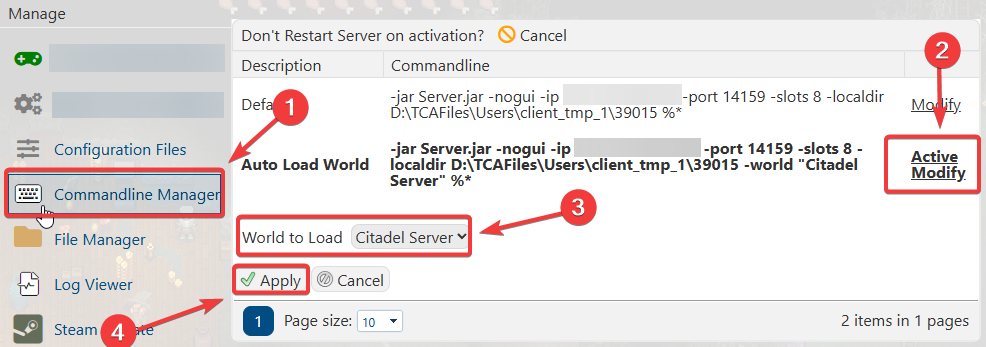
Step 8: Set Your Save File to Auto Load
Go back to your Game Control Panel.
Open the Command Line Manager.
Click Modify and choose your uploaded save file.
Step 9: Restart Your Server
After selecting your save file, click Restart on your Game Control Panel to apply the changes.
Did the above information not work for you? Please click here to contact our support via a ticket.
